Bobby Goren is the swoon.
No internet at the new apartment since Wednesday (damn you Comcast)! I spent the weekend (Joe was in Rochester at a conference) making books while watching downloaded episodes of L&O: Criminal Intent (people actually pay for cable?) and fantasizing about running off to Europe with Vincent D’onofrio. In this fantasy, he is always very very intense and gets upset easily and almost cries constantly. So, the lack of internet notwithstanding, it was a pretty alright weekend. Hopefully today, we can exchange our modem.
The Long and Winding Road
Man, I hate packing. I end up spending about an hour and a half in gung-ho-we’re-getting-this-s*%t- done mode and then 2 hours overwhelmed by the monotony of putting things in containers. I move pretty often so this should be old hat, but that is so not the case. Joe & I went to the new place and measured everything so at least we know exactly where all of our things are going and I’ve acquired two awesome new desks that I’ll be using for crafting and bookmaking. I’ll be turning the dining room into a workshop and I’m so excited! I hate packing, but I can not wait to move.
Recycled Books
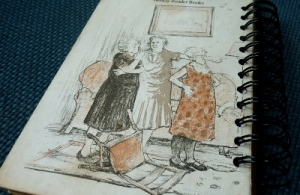
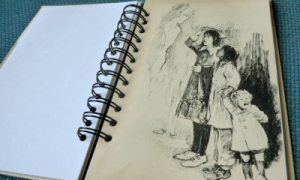
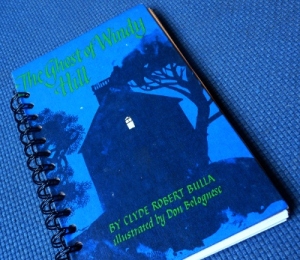
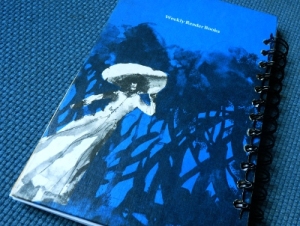
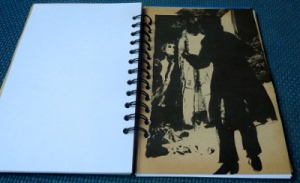
I used to buy “upcycled” journals like these years ago and I always wondered how they were done. When I received my first shipment of 6 books that I’d intended to turn into journals, I was a bit worried looking at them, but scissors, an Exacto knife, sandpaper, and my new favorite machine The Cinch made short work of them. By far, my favorite aspect of these journals have always been the original book pages that are inserted between the blank journal pages. I made sure to use all of the original illustrations for these books and some of them are really beautiful. I cut 70 pieces of regular 20 lb paper (30% post consumer fiber) to the same size as the book pages giving each book 140 blank pages!
The Briefest Overview of Bookbinding Ever
For anyone who doesn’t know what goes into making a book, I think you’ll be surprised at how simple it is. This is a very short overview on how I made the this book.
My basic supplies were:
+paper (for the inside)
+pretty paper (for the outside)
+book board
+linen thread
+cotton tape/ribbon
+adhesive
 The first step is to cut the inside paper to the correct size. I use a paper cutter and the size of the paper depends on whatever size you’ve decided the completed book will be. This completed book is 7×5 so I cut the paper to 9×6.5. Once you’ve cut all of the paper to the correct size (the amount of pages are up to you), the process of creating folios and signatures is next. Each piece of 9×6.5 paper is folded in half which creates a folio. A “bone folder” is used to get a good sharp crease on each folded edge. For this book, I had 28 sheets of paper so when all of the folding was done, there were 28 folios. Each folio is then combined with other folios to create a signature. I like signatures of 4 folios so I took one foilo and put it inside another folio and repeated until I had a signature comprised of 4 folios. I did this until I ended up with 7 different signatures of 4 folios each.
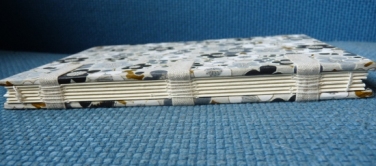
 The next part is sewing or stitching the signatures to each other. There are quite a few different stitches for binding books. If you are planning on putting a spine on a book, the stitch need only be functional. In the case of open bindings like this book, function is as important as comeliness. Once I decided what stitch I would use, I made a template folio in the exact dimensions of the actual folios. I measured where the holes would go (for the needle & thread to pass through) and marked these holes with a pencil (I was using cotton ribbon in the spine of this book so that had to be taken into account during the measuring as well.). Then I put the template on top of one signature and punched holes through the pencil marks in the template and completely through the entire signature as well. I started sewing with only the first signature, adding each signature when the previous had been attached.
 Preparing the covers can be done at the beginning of the project or after the signatures (once they’ve all been sewn together they are now a “text block”) have been sewn together. I tend to do it at the end. I used 5×7 book boards (bought pre-cut though many people cut their own board to size) and cut the outside decorative paper to 6×8. The board is then glued to the center of the paper, leaving a 1 inch overhang on all sides. The corners are clipped and the sides are folded over the board so that the board is completely covered on one side and only the edges are covered on the other.
Now we put the book together! The cotton ribbon is glued to the inside of the covers. Then we take the first page of the text block and glue that over the cotton ribbon and to the inside of the cover as well. The same is done with the ribbon and the last page of the text block on the inside of the back cover. The last thing to do is either put the book in a book press (I covet one of these) or to put the book under weights to allow it to flatten and dry completely. And now you have a book!
Refillable Notepads (Three Ring)
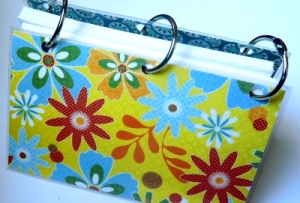
I make these 3×5 notepads by laminating 2 pieces of [pretty] paper, inserting 50 blank index cards between them and then binding them together with easily opened 1″ book rings. These are great because they’re refillable!
Spined Brown Book w/ Green Accents
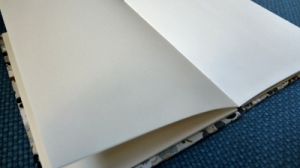
Sewn and then glued, this brown book was my first attempt at making a book with a spine and book cloth. This book is full of bright white, thick 67lb paper.
Today’s book (Green Chiyogami!)
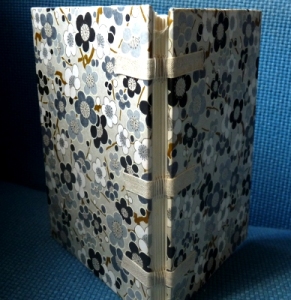
I adore chiyogami paper. The texture and the patterns (not to mention the insanely vibrant colors!) are perfect for wrapping around book boards for book covers. Chiyogami is Washi paper that has been hand stenciled or printed with traditional Japanese imagery using bright colors and patterns. This book is 5×7 and I used cotton ribbon & linen thread in the exposed spine.
Linen Tape Journal #1
This is my first and favorite book. It’s 5×7 and the book board was wrapped in chiyogami paper. The signatures were sewn with linen thread. Linen tape is used on the spine.
Pamphlet Stitch Pocket Journals

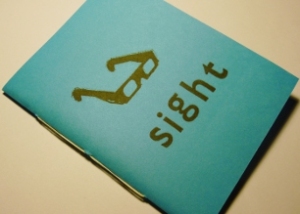
 These 5.5 x 4.25 pocket ournals are so much fun to make. They’re just cardstock, paper, stamps, and thread!
Colored Cardstock:
Bird Book
Making books is my new favorite thing. This is hand sewn with a coptic tape stitch and then glued together. The covers are attached partly by ribbon. The book is 6×6 & I used pretty heavy paper in this one (67lb).


